Building a fire is an integral part of camping; it illuminates your campsite, it keeps wild animals away, and you can use it for cooking your food. A campfire also creates the unique atmosphere you associate with camping.
If you are going on a camping trip, you have to know how to build and extinguish a campfire safely. In this post, we will take a look at how to create a fire bed, the different wood types you need, and how to put out your fire.
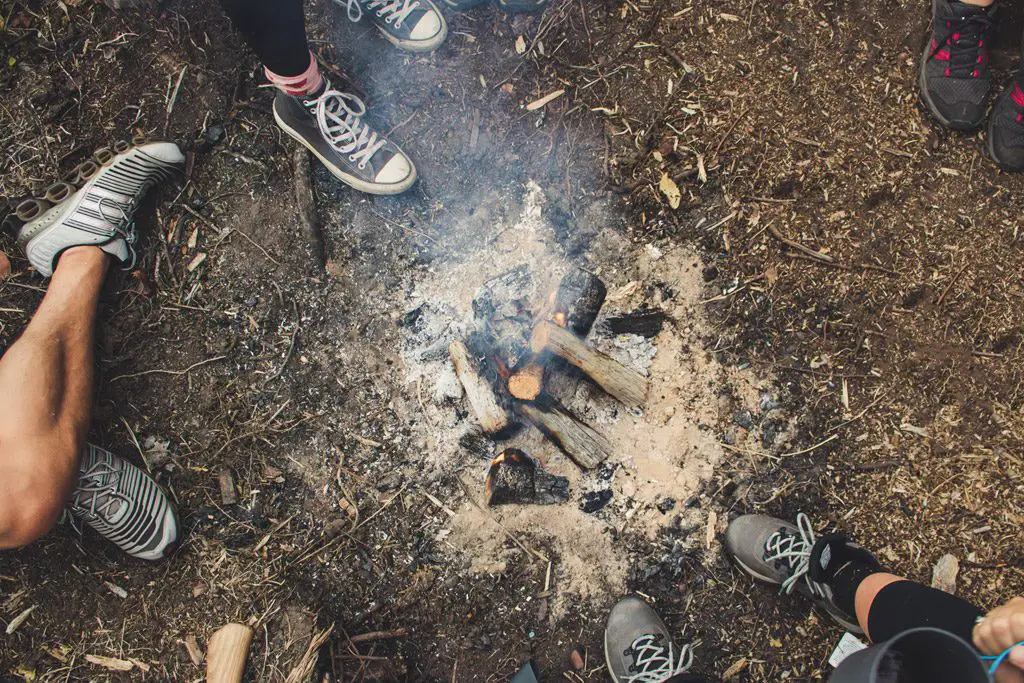
Create Your Fire Bed and Ring
Most campsites have designated fire areas that you can use. If you are camping in a remote area without a fire site, you need permission to build a campfire from either the campground operator or the land administrator (a National Park Ranger).
To build a campfire, select an area that is away from trees, grass, and plants and especially your tent or camping mattress. Your fire bed should be bare earth or a gravel surface that is not covered by grass or other plant materials. If there are leaves and other plant debris, clear the area.
After clearing a safe zone for your fire, build a soil platform that is a few inches thick. Then arrange large rocks around the bed to create a fire ring. It’s always best to wear a good pair of hiking boots when both collecting materials and moving around the fire. You don’t want to end up with an injury,
Gather Materials
After creating your fire site, gather materials to build your fire. You need three types of material to start and maintain your fire successfully: tinder, kindling, and wood. All materials you use for your fire should be dry to prevent excessive smoke and to make the process easier.
Tinder would be materials like dry bark, paper, leaves, or grass that catches fire quickly. Experienced campers may also use dryer lint. These materials burn out quickly, however, so you would then need more substantial materials like twigs or thin branches—this would be your kindling—to keep your flame going. Your kindling will burn long enough to ignite the thicker wood. When your first logs are burning, you have successfully started your fire, and you can keep adding wood for as long as you want the flames. If you are camping in a popular area, it may be hard to find materials near the camp. Consider venturing further away from camp and taking a hiking backpack with you in order to store materials.
*Please note: In National Parks throughout Australia such as Inskip Point, Queensland, you are not permitted to take firewood from the surroundings and you must bring your own wood.
Ways to Lay Your Fire
Cone Fire Lay
Start by placing your tinder in the middle of the fire bed. Then build a cone-like structure with kindling on top of the tinder with an opening on the appropriate side to allow the wind to blow in and provide oxygen.
Stack your thicker logs on end around your kindling in the same cone form. Depending on the thickness of your wood, four or five logs may be sufficient. After burning for some time, your cone will eventually collapse, and you can keep adding logs to fuel your fire.
Log Cabin Fire Lay
Place the tinder and kindling in the center of your fire bed. Then, place two logs on either side of the tinder to serve as the base of your fire. Add two logs on top of your base logs at a perpendicular angle to form a square.
Continue adding two logs per layer with some room between them to allow for airflow. How many layers you add depends on how high you want your flames to be.
Extinguishing Your Fire
When it is time to leave or go to sleep, you have to put out your fire thoroughly.
Use enough water to put out the fire completely, and be careful not to get burned by the steam. A fire site is safe when there is no more steam coming from the ashes, and when the ashes are cool enough to touch.